Why Choosing the Right Granite or Marble Matters
Granite and marble countertops are long‑term investments. They influence not only the look of a space but also its durability, maintenance needs, and resale value. However, not all stone slabs are created equal. Two pieces may look similar at first glance, yet one will hold up for decades while the other may stain, crack, or disappoint the customer within a year. That is why learning how to recognize high‑quality stone is one of the most valuable skills a homeowner, contractor, or fabricator can have.
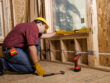
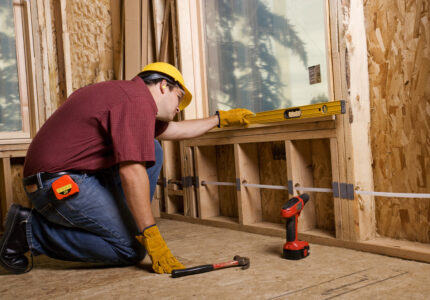
Before you choose a slab, you must understand how stone is formed, processed, and graded. This knowledge will help you avoid costly mistakes, wasted labor, and unhappy clients. After 20+ years in fabrication and installation, I’ve seen everything from showroom‑quality stone to “garage sale specials” pretending to be premium grade. Let’s break down the science before we move into the real‑world checklist.
Understanding Granite and Marble Quality
Natural Formation and Variations
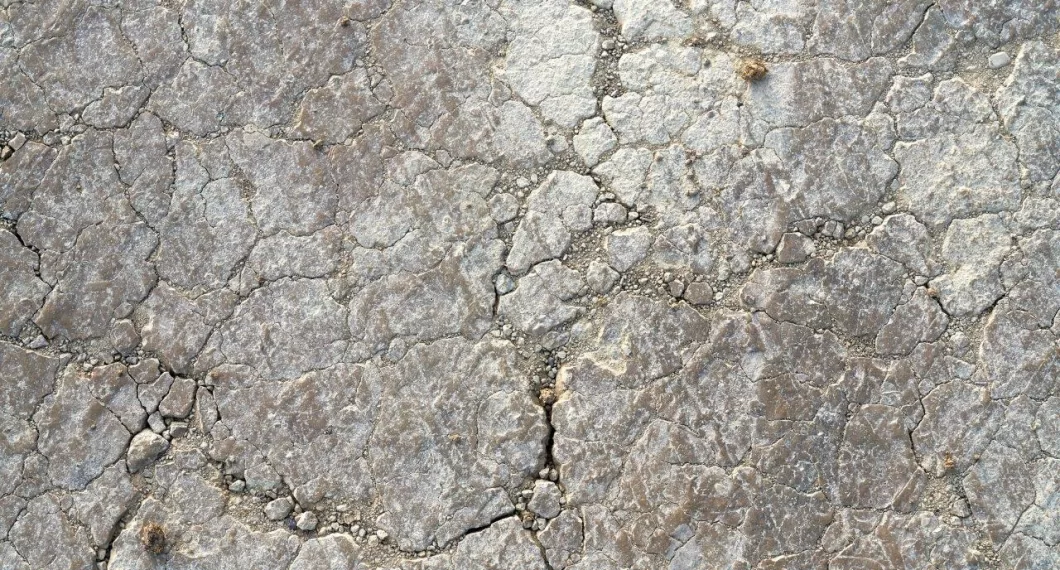
Granite forms deep in the earth under pressure and heat, which gives it its strength and speckled or crystalline pattern. Marble is a metamorphic stone that starts as limestone and transforms under heat, creating its famous veined appearance. Because they are natural stones, every slab is unique. That uniqueness is beautiful, but it also means quality varies.
Grades of Stone
Suppliers typically classify stone into three main grades:
| Grade | What It Means |
|---|---|
| Commercial / Entry Level | More natural flaws, filled cracks, duller finish, often thinner. |
| Standard / Mid‑Grade | Better grain consistency, fewer repairs, good polish, stable thickness. |
| Premium / Exotic | Rich color, rare patterns, high density, near‑perfect surface, premium quarry source. |
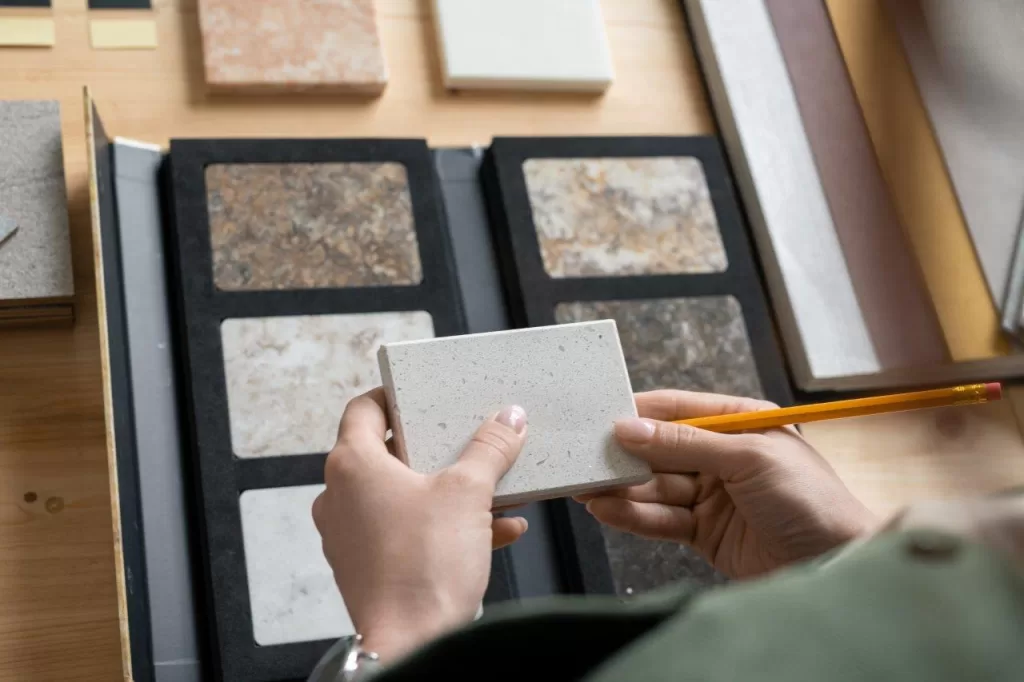
Price alone doesn’t tell you the grade. I’ve seen overpriced “premium” slabs that were repaired more than a 1987 Honda. Always inspect before buying.
Key Factors to Look For When Choosing a Slab
- Grain Pattern and Consistency: Good stone has even, natural patterns without abrupt visual “breaks.”
- Seams and Structural Integrity: Seams are unavoidable in long countertops, but the slab itself should not show factory‑filled cracks or excessive resin. A good slab feels solid when tapped. If it sounds hollow, walk away.
- Surface Finish Quality: The finish must be smooth, even, and consistent across the surface.
- Thickness and Reinforcement: A standard countertop slab should be 3 cm (1 ¼”) thick.
- Resin and Dye Use: High-quality stone shows true natural color, not artificial dyes.
✅ Grain Pattern and Consistency
Good stone has even, natural patterns without abrupt visual “breaks.” If the grain changes suddenly, it may indicate a patch, epoxy fill, or a weak section.
Real‑life example:
A client picked a slab with stunning white and gray swirls. Under shop lighting, it looked perfect. Once we moved it outdoors, a large section revealed faint yellow veining from oxidation—something they would have hated in their bright kitchen. We saved the project by switching the slab before cutting. Moral? Always inspect stone in natural light.
✅ Seams and Structural Integrity
Seams are unavoidable in long countertops, but the slab itself should not show factory‑filled cracks or excessive resin. A good slab feels solid when tapped. If it sounds hollow, walk away.
✅ Surface Finish Quality
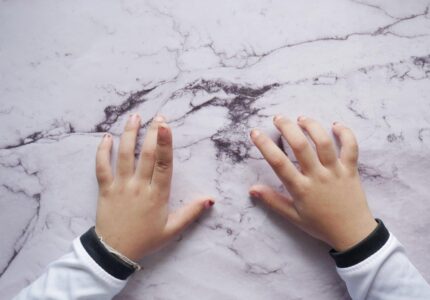
The finish must be smooth, even, and consistent. Poor polishing leaves dull spots, waves, or drag lines. Run your hand flat across the surface. If it feels like a gravel road, it’s not premium.
✅ Thickness and Reinforcement
A standard countertop slab should be 3 cm (1 ¼”) thick without added fiberglass backing. Thinner 2 cm slabs are cheaper and weaker and usually need plywood support.
✅ Resin and Dye Use
Some stones are dyed to “enhance” color. Over time, sunlight or cleaners will fade those dyes. High‑quality stone shows true natural color, not a makeup job.
Quick Field Tests to Spot Quality
| Test | What You Do | What to Look For |
|---|---|---|
| Water Drop Test | Place a few drops of water | If it darkens fast → stone is porous and lower quality |
| Fingernail Test | Scratch underside of slab | If it scratches easily → softer, lower-grade stone |
| Flashlight Edge Test | Shine light through the edge | Excessive glow = too much filler resin |
| Tap Test | Knock with knuckle | Strong “ringing” sound = dense stone |
Typical Red Flags That Mean “Put Your Wallet Away”
- Veins that look too straight or too perfect (machine‑cut filler, not real stone)
- Cracks filled with colored epoxy instead of natural minerals
- Slabs that feel bendy when moved (yes, I’ve seen this)
- Strange chemical smell (often means heavy dye or resin treatment)
- A price that sounds “too good to be true” — it usually is
Why This Matters for Real Projects
Bad stone doesn’t just look bad. It causes:
- Edge chipping during fabrication
- Cracks near sinks or cooktops
- Stains that won’t come out
- Customer complaints… followed by chargebacks
- And the classic: “Can you fix this? My installer disappeared.”
As I always say: you can fix a bad seam, but you cannot fix a bad slab.
Final Thought
You can fix a bad seam, but you cannot fix a bad slab. Always inspect your granite or marble under real lighting conditions. Use your senses—touch, sight, and sound—to check for flaws. If you’re unsure, ask your fabricator to walk through the inspection with you. We do this all the time with clients, and they appreciate the peace of mind.